
2025 started with a new hobby: 3D printing. And rather than keeping it to myself, I thought I could start writing down my experiences and share them with the world.
A Step Forward
I've always wanted to start diving into 3D printing, however the price was always a tad prohibitive. Most quality printers have a starting price in the upper three-digit realm, and any fully featured kit can easily land you over the €1000 mark. As an example, the Original Prusa MK4S 3D Printer costs €819 as a kit, and almost €1100 when fully assembled. And this does not include any additional addons, like a second plate, a multi material system or anything like this.
 A screenshot of the Prusa shop depicting the aforementioned 3D printer and its asking price of €819
However, as one cruises through the internet, I happened to hear the same name over and over again: Bambu Lab. The stars happened to align this January, I cleared some space in my storage room and I went for it: A Bambu Lab A1 Combo with an AMS kit that supports up to four spools for multi-color prints. And with a good discount on top, I got it for €500 plus some extra for four spools of filament to get me started. All seemed well.
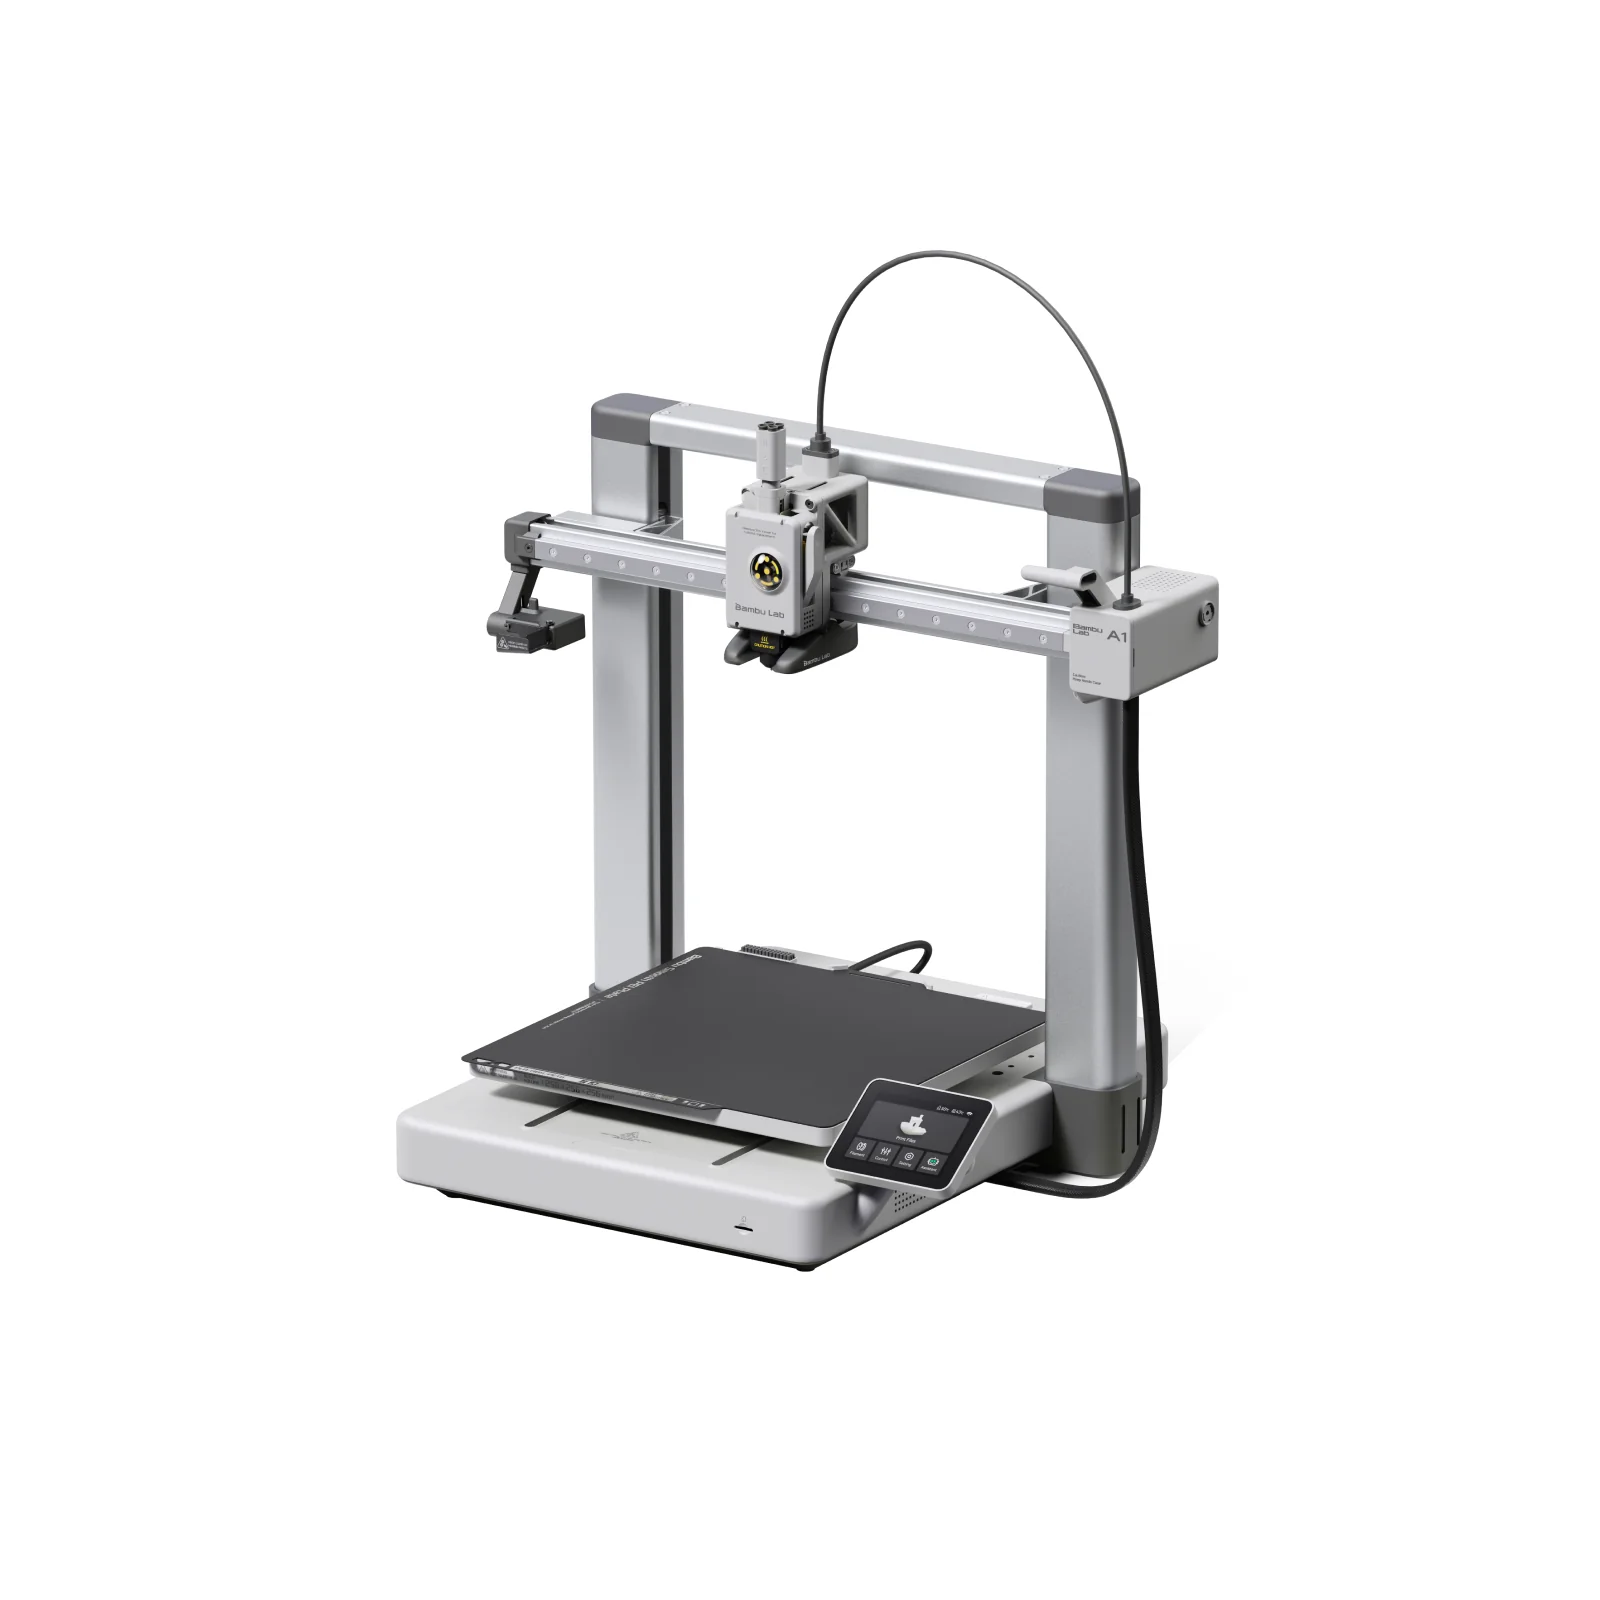 A picture of the Bambu Lab A1 3D printer (source: Bambu Lab Store)
A Cloudy Controversy
Just one or two days after I placed my order, Jeff Geerling posted a video two his second channel "Level 2 Jeff" titled "I probably won't buy another Bambu Lab printer". The moment I saw the title, I got a bad feeling. Do I want to even know what's up? Reluctantly, I clicked on the video and got hit with another company "enshittifying" their product for a (to me) unknown reason. The gist of it:
- Bambu Lab is releasing a (as of now Beta) firmware update that locks down the firmware of the printer in the name of security, while removing LAN-only mode.
- Users protest on forums and social media that they do not want this update since it requires a Cloud connection to their "Bambu Cloud Services".
- After heavy feedback, Bambu Lab walks back partially, and tries to explain their reasoning.
- People are still not happy.
As of today, this is the current situation. I don't want to derail this post further than needed, but I'll leave some links to the relevant posts as well as my own opinion here:
- Updates and Third-Party Integration with Bambu Connect - Blog Post
- Updates and Third-Party Integration with Bambu Connect - Forum Thread
- Bambu Connect’s Authentication X.509 Certificate And Private Key Extracted - Hackaday
My own opinion on the matter: A cloud service ought to be an optional convenience, not a mandatory requirement. I had quite a few doubts but decided to keep the purchase anyway and be mindful during setup. Will I ever purchase another device from Bambu Lab? Not sure. The reason I mention this here at all is, that I will refer back to these "troubles" a few more times and I want the reason to be aware of them.
A Package Arrived
When I got the news that the parcel with the printer arrived, I was excited to come home and set it up. I still had the "troubles" in the back of my mind, but I tried to not let them draw from the excitement I had to dive into something new. To Bambu Lab's credit, the setup instructions are simple but clear. It took me maybe an hour to get everything setup. Being ready for any "expected" surprises, I plugged it in and saw it fire up. To my delight, the printer didn't ask too many questions and the Wifi setup was skippable, so I did and left it to do its initial calibration dance, which took about 20 minutes, a fact that is well communicated on the devices display, props again for the user-friendly design there.
Once it was done, I printed the obligatory 3DBenchy, which was provided on the included microSD card. I printed it twice, once in green PLA, the other time in a matte black PLA. And man, watching the printer doing its magic certainly has a draw to it. And they came out great!
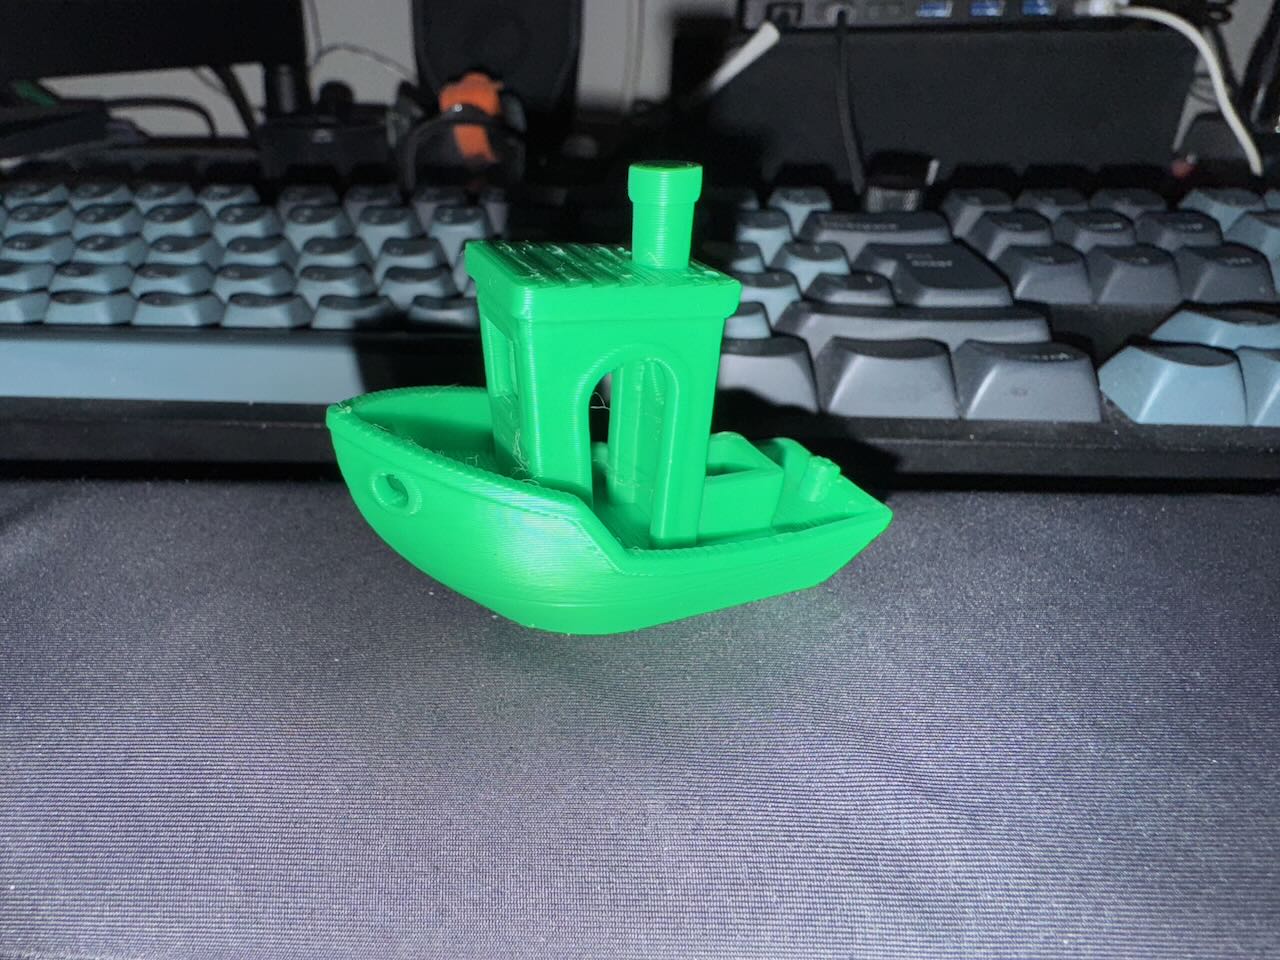 3DBenchy, a boat used as a benchmark in 3D printing
A Hint of WiFi
While the printer was busy doing its initial prints, I started digging through its menus and sound the LAN-only mode, that people were talking about. Excited to see this option available, I immediately toggled it on, as it clearly stated it would disconnect from the internet and sign out of any cloud account, which is exactly what I want. With this knowledge in mind, I then went for the WiFi settings and connected it to my 2.4 GHz network, exclusively dedicated for IoT (Internet of Things) devices, that does not allow an internet connection, but allows them to talk to other devices on the network. And also no surprises there.
A Dose of Theory
Of course I also consumed some educational content before I got the printer, so I had a rough idea of the terminology and how things work. I can recommend "3D PRINTING 101: The ULTIMATE Beginner’s Guide" by The 3D Printing Zone, which covers all important topics in about 30 minutes. For now, the important question was: How can I print whatever I want to print?
In 3D printing, all starts with a 3D model. Modelling in itself is an art form, which I will have to tackle eventually, but I decided to skip this for now and go to online marketplaces to grab some models from there. There's plenty of options but here are the ones that I landed on:
- Makerworld – A website by Bambu Lab to submit and download models, usually pre-sliced for Bambu printers. It is also integrated with their own slicer "Bambu Studio".
- Printables - Same concept, but by Prusa.
- Thingiverse - Again, same concept, but it seems to be free (as in not backed by any 3D printer company). In my experience, the website is quite sluggish to load, but that may be an artifact of various layers of privacy tools I use.
Downloads come in a variety of different formats, but these are the ones you need to know about:
- STL files are 3D models. They contain the object (or objects) to be printed but nothing else. These files are universally understood.
- G-code files contain the instructions to make a specific printer print the thing you want with the settings you choose. This is also called "sliced". Usually, you don't need to handle these yourself, unless you only interface with the printer through a storage device (like an SD card).
- 3MF files are a combination of STL files, material information and other settings. The slicer software "Bambu Studio" (and its fork "OrcaSlicer") handle these as projects, so everything will eventually land in a 3MF file.
- SCAD files contain instruction on creating models in a programmatic fashion. They are usually used for parametric models, allowing the user to easily modify the model in various ways. These files need to be rendered into an STL first, so you need an extra tool called OpenSCAD.
From my limited personal experience, STL files seem to be the most "standard" files you would normally handle, as they do not care about printers, filaments or anything like this. On sites like Makerworld, you will usually get 3MF projects, so most of the Bambu Lab-specific settings are usually available directly in the slicer. I've handled one or two SCAD files as well, one was for a GameBoy cartridge holder where the script allowed the user to specify the angle of the games and the number of rows and columns and a few other things, in my mind the perfect demonstration for where SCAD shines.
With all this knowledge, the next step was to actually print some of the stuff I downloaded.
An Exercise in Patience
Eventually, I started to play around with settings and different smaller and larger models. I also ran into a compatibility issue. See the first time I sent my own print job to the printer, I used Bambu Studio, since it was the program that's supposed to be used with the printer. However I did so on my main computer running Linux, and the version of Bambu Studio did communicate with my printer without issue. When I then tried the same from my laptop, an M2 MacBook Pro, the software refused to talk to my printer. While I haven't verified it, my theory is that the Flatpak version of Bambu Studio still has the old code in place for talking to my unpatched printer, whereas the version I had on my MacBook was newer and probably wanted to use the new cloud method. While looking around I stumbled over OrcaSlicer, a fork of Bambu Studio (which is a fork of Prusa slicer). The interface of OrcaSlicer is practically the same as the one of Bambu Studio, but it supports more printers and, most importantly, it doesn't care about the whole cloud stuff at all. I was able to connect to my printer reliably from multiple machines without issue. So OrcaSlicer is the software I will be using for the time being. This was also the moment, where I made the vow to not update the printer, instead making sure to ban it from connecting to the internet, unless I have a very good reason to do so.
With the software situation sorted, I then started tackling larger projects. Since I've just collected another case of either a cold or a flue, I was stuck at home drinking tea all day, so a tea dispenser / organizer that showed up on my feed was the perfect candidate. The overall print took 10 hours to finish (11, if we include the lid), but the results were surprisingly good. This was also the point where my wife started joining in on the printing action, requesting I setup the software on her PC so she could print things as well.
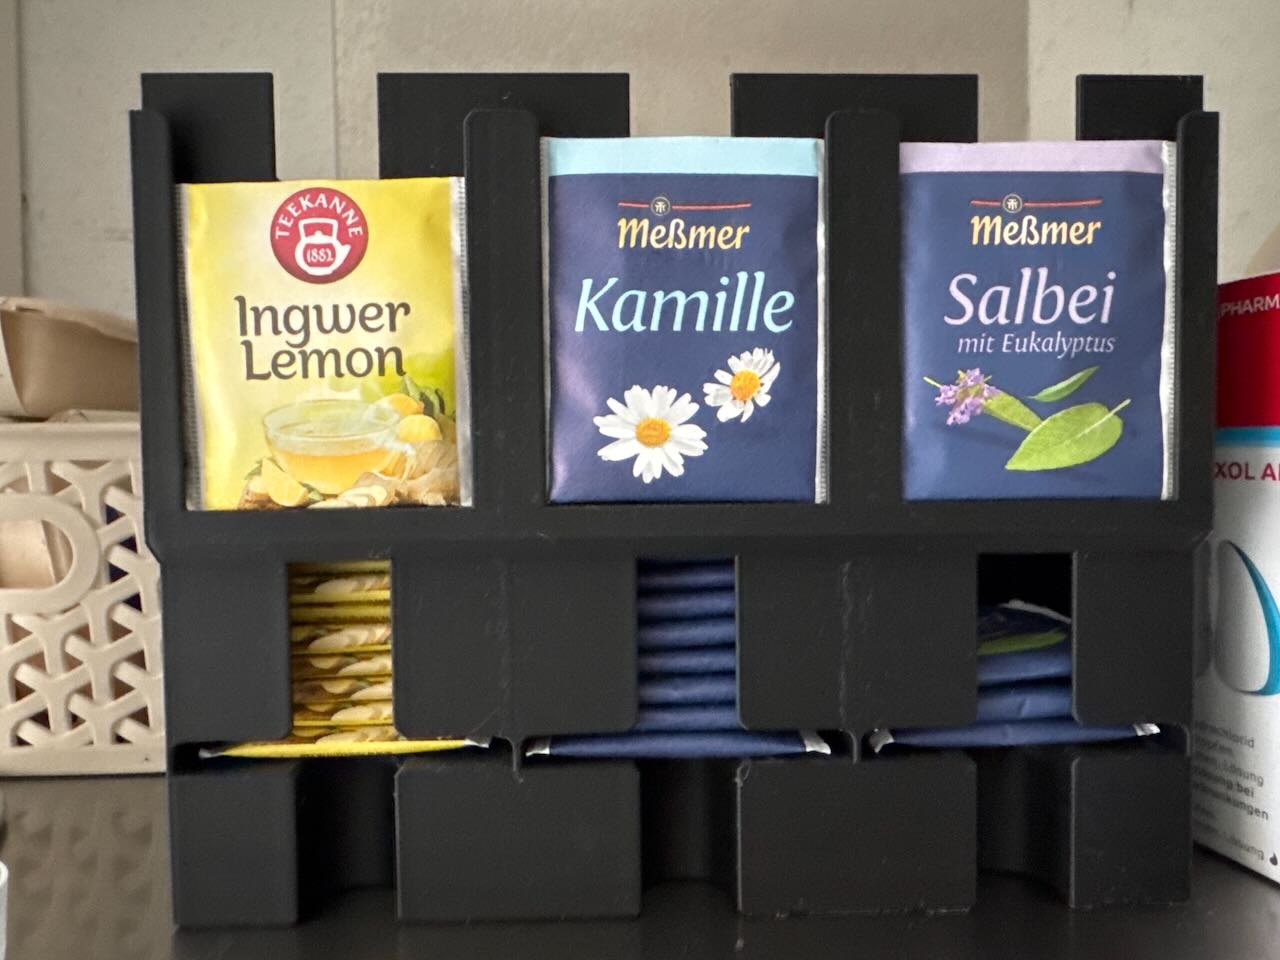 3D-printed tea dispenser with convenience slots for displaying a tea sample
Over the coming days, the printer was busy for most of the time, printer little figures and trinkets, or little holders for various things. Apart from numerous port covers for USB, HDMI, and Ethernet, I printed some display stands for my Analogue Pocket and my GameBoy, fitting to the organizers I also printed for my games.
 Analogue Pocket and GameBoy Color on dedicated stands, with a range of games in an organizer in front of them
I also experimented with various filaments, currently only PLA and transparent PETG. Here are the differences I was able to observe and verify through research:
- PLA is "the standard material", that you can use for almost anything. It is durable and easy to print. However it does not handle heat that well, so maybe don't leave PLA-printed things in your car during summer.
- PETG has some cool translucent variants and it also seems a bit more elastic. It does require higher temperatures when printing and it is prone to stringing on finer details.
If you want to learn more about 3D printing materials, I recommend this video by CNC Kitchen as it explains and compares the qualities, strengths and weaknesses of the different materials.
A Journey Ahead
I just embarked on a journey that is probably full of little traps, but also a lot of peaks. 3D printing can fix so many little things in ones environment. Thing of all the loose things that lie around but could get their dedicated spot. Little dust covers so nothing nasty gets into these little crevices. Small trinkets and fidget toys to play around with. And so many filaments to explore. I'm looking forward to it. And I hope I remember to write my thoughts and my progress down the next time.